|
|
Tools
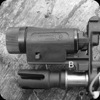
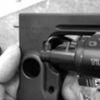
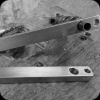
Click on a photo, and scroll down the page for more information on our products.
1911 Upgrades |

Ballistickers |

EoStickers |

SafePort® |

KX3 Caps |
"Rench" |
MOACKS II |
Pocket MOACKS |

5.56 Reamer |
ILM |
ILM-JT |

MOACKS Plain |

.223/5.56? Gage |
Gas Tube Bender |

Site Hold Fixture |

MSH-F |
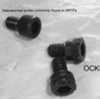
OCKS |

FallArrest |
 |
ORDERING SUGGESTIONS REQUIREMENTS:
As a one-man operation I need everyone's help when ordering. I still find
that a full 1/3 of orders I get through PayPal are missing either the
person's address or what they are ordering.... often both. This eats up an
incredible amount of time on my end and greatly increases the chances of me
dropping a ball. Please, read the below, and *note these important policy
updates 4/27/2020:*
If you are ordering through PayPal and the order is missing the address or
what is being ordered I will simply refund the money. You may have Emailed
me what you want and your address but when I'm processing multiple orders
it just doesn't work for me to have to search Emails for a name or an Email
address, especially when the Email address the inquiry was sent from is
different from the one on the PayPal account. Also: please do not order
"friends & family". I appreciate that people want to save me the PayPal
fees but it's liable to cause me problems with them down the road. Also
when payment is sent "for goods and services" the process of getting your
label printed is much quicker, less likely to have a transcription error,
and, least of all, the postage is less.
In summary:
- Incomplete info on PayPal orders will result in the payment being
returned.
- PayPal orders sent "friends and family" will result in the payment being
returned.
- If you are ordering more than one tool, there is only one $10 shipping
charge.
|